

IRLP
Radio
Vintage

Live Status
VK2YLD
Steve...
Kurri Kurri,
New South Wales
Australia
email - vk2yld at dodo.com.au
REAL radios glow without smoke.


It's Alive.....
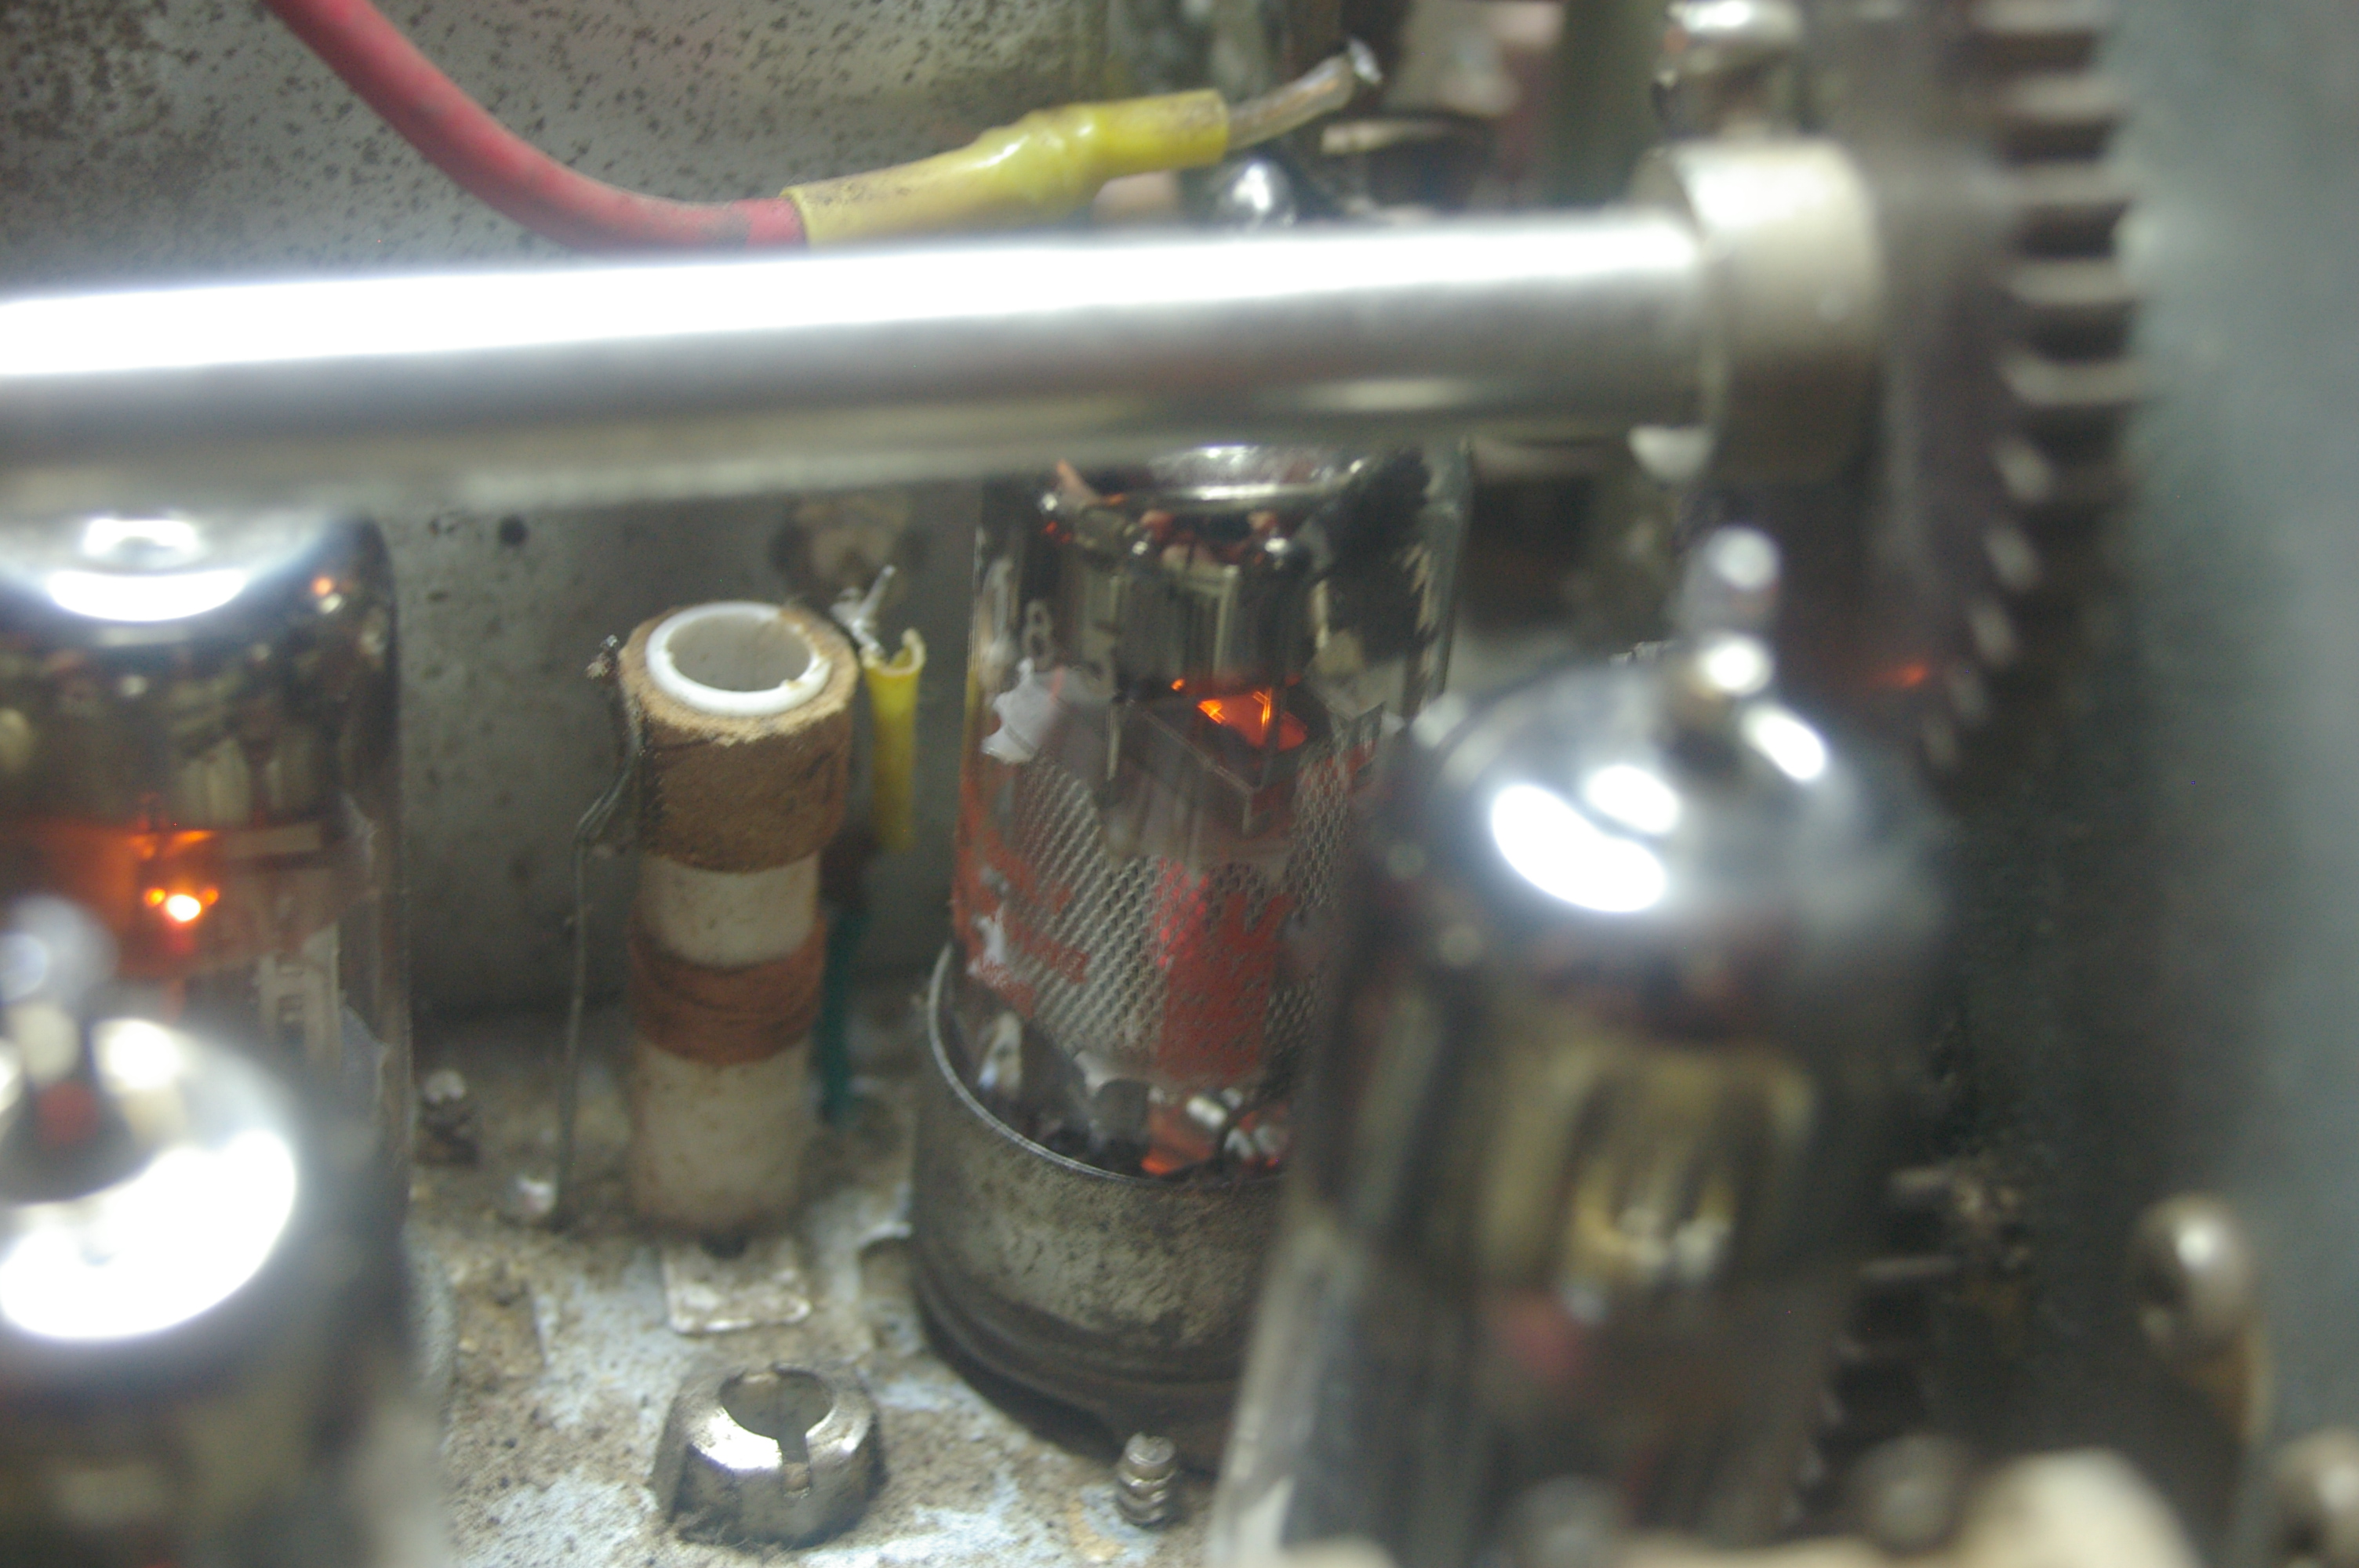
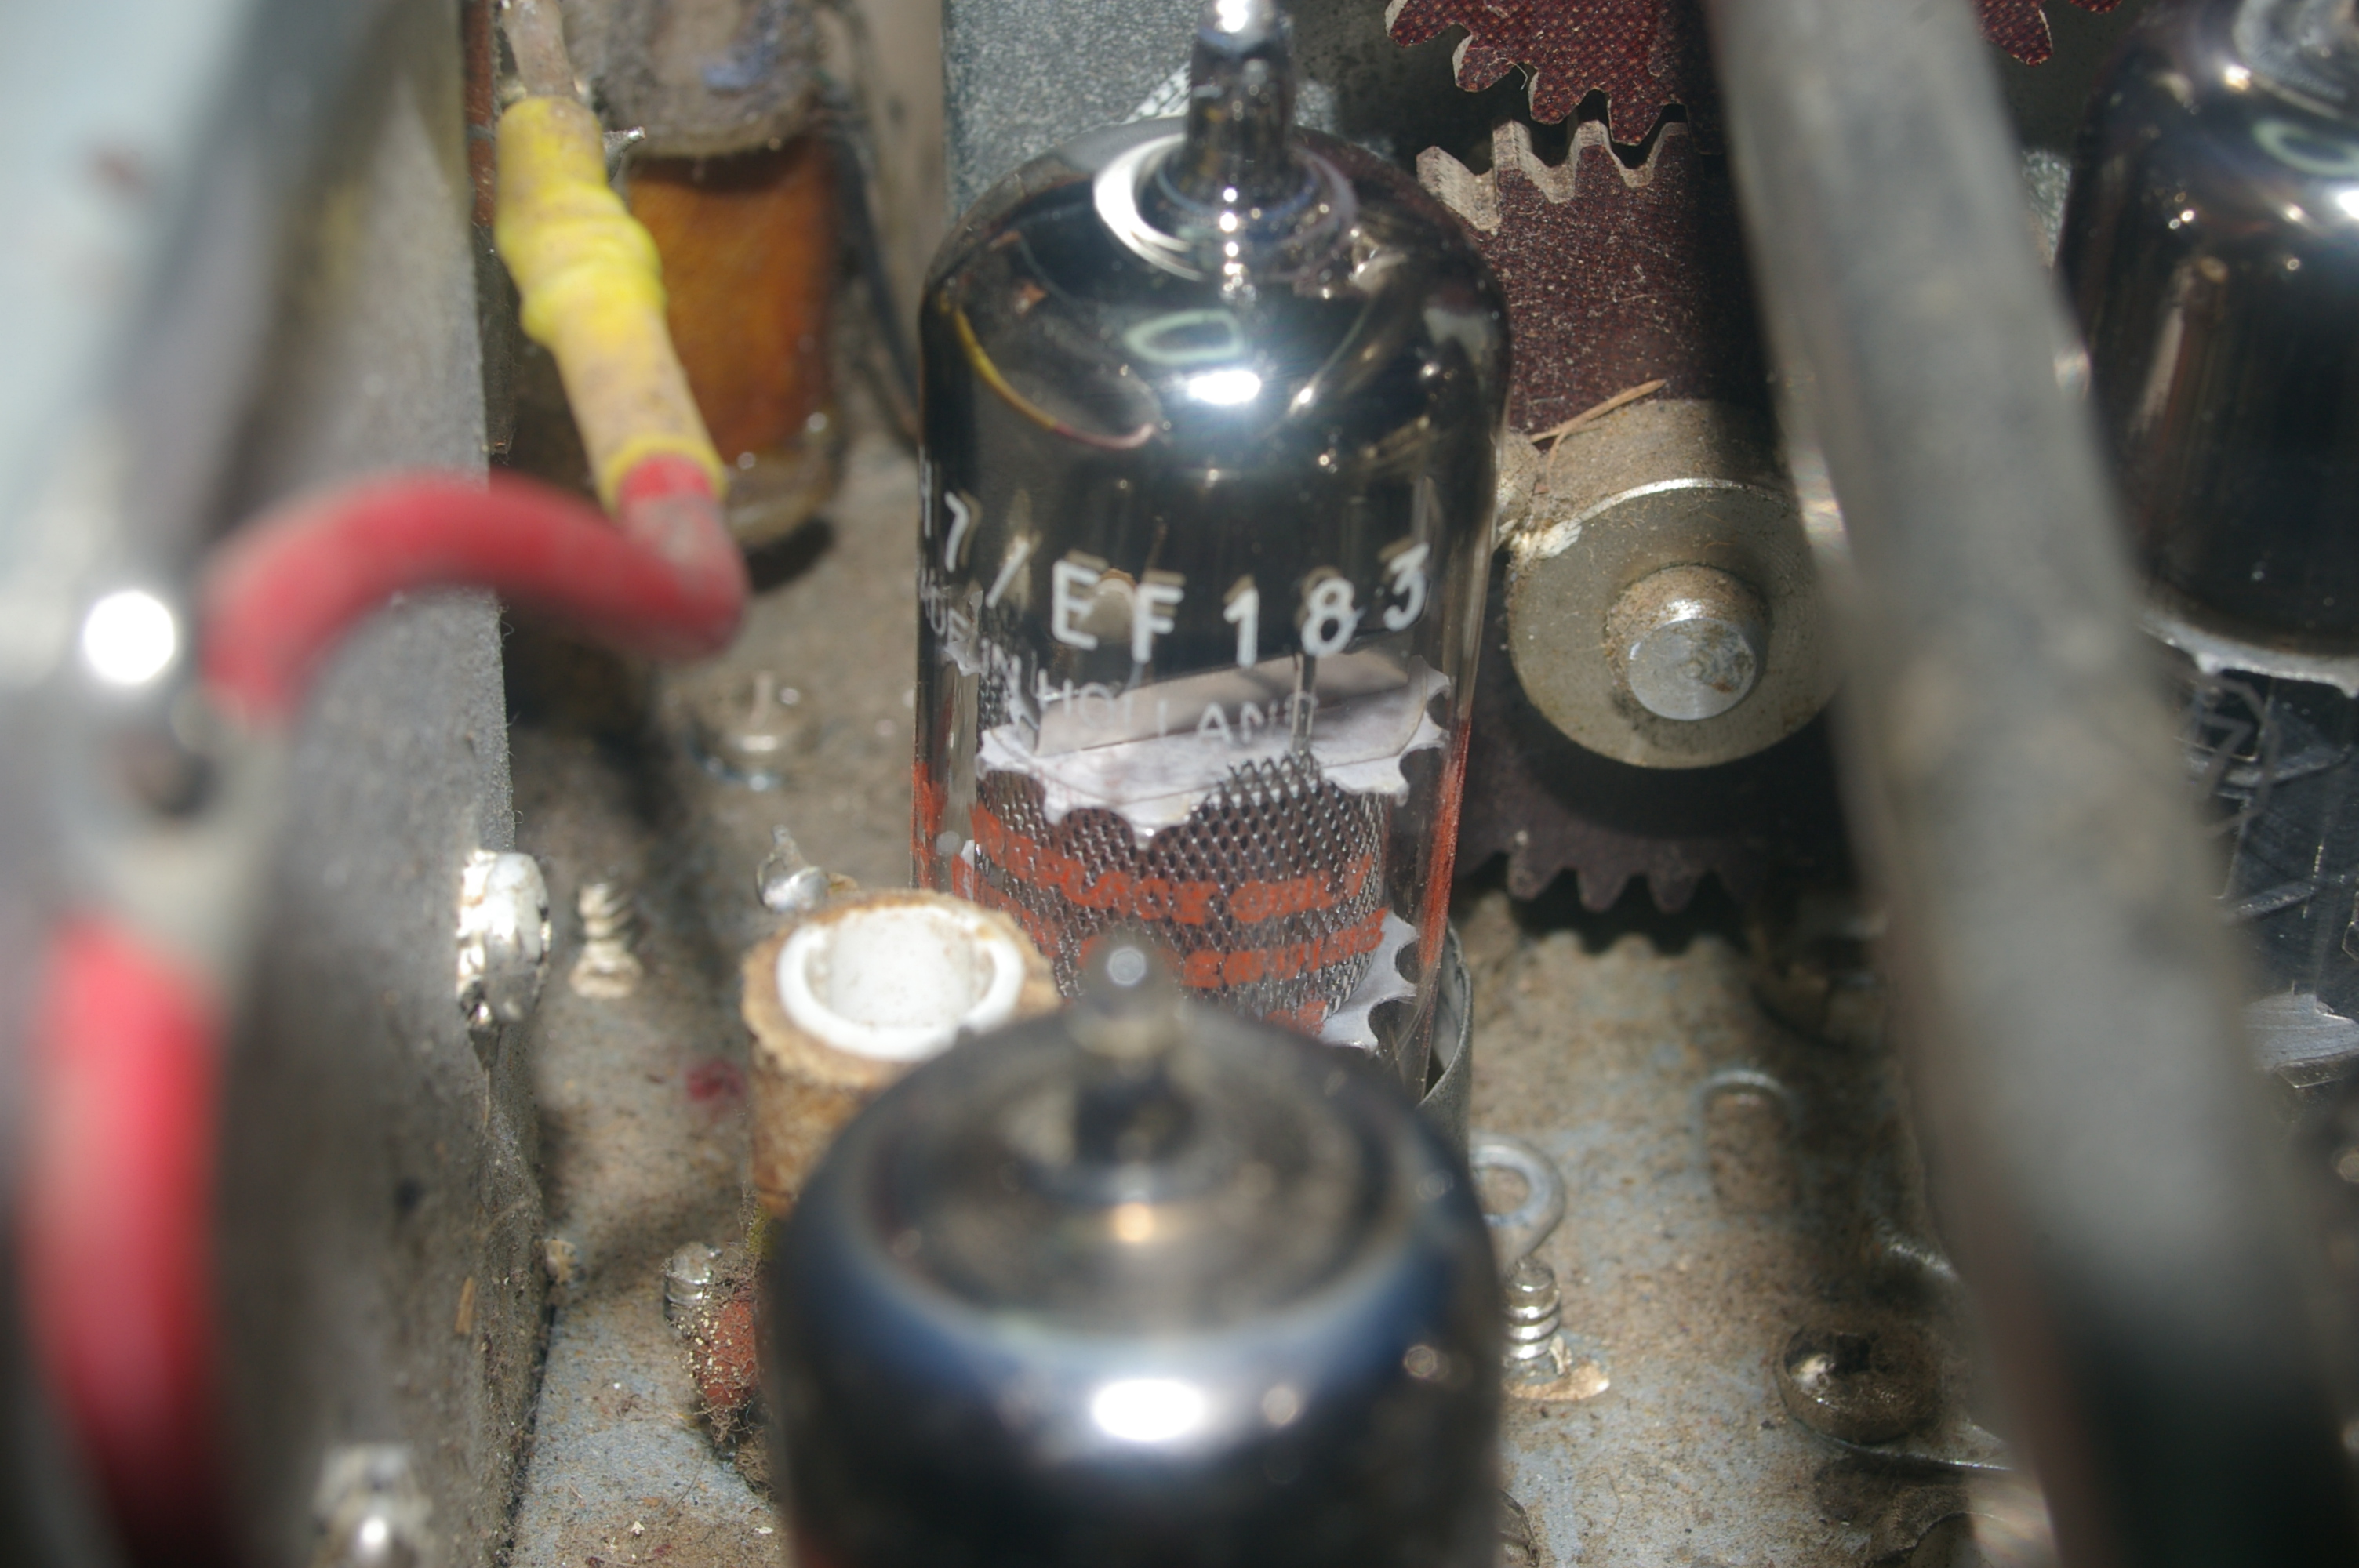
The new tube in situ, just needs the 2 hold-down screws fitted. I decided NOT to screw it down until the end of proceedings which allows me to shift the position as wiring goes on to make sure everything is in the right spot. Lastly, the two holes are drilled (carefully) to fit the two self-tapping hold down screws and the job's done. After the original alignment, a signal at the antenna of 50uV was set to give about s9+20 on the meter, and after re-alignment of the new front end 50uV gave s9+50 (nearly pegged) so this was re-set to s9+20 and all finished. Very noticable improvement on 20m and 10m bands.. Much better, and worth the effort..
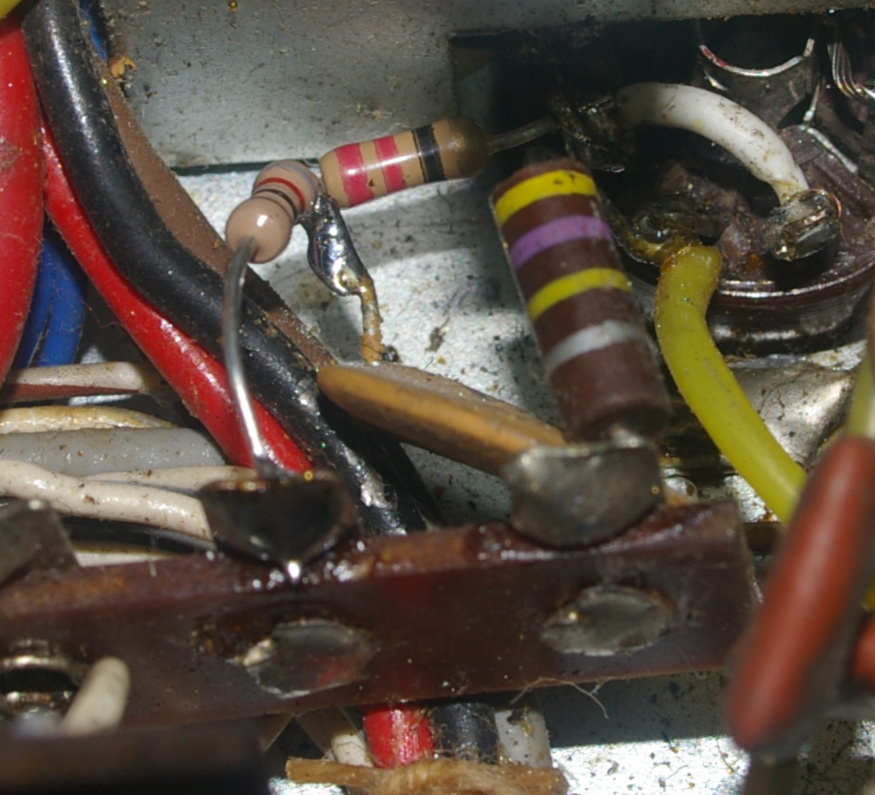
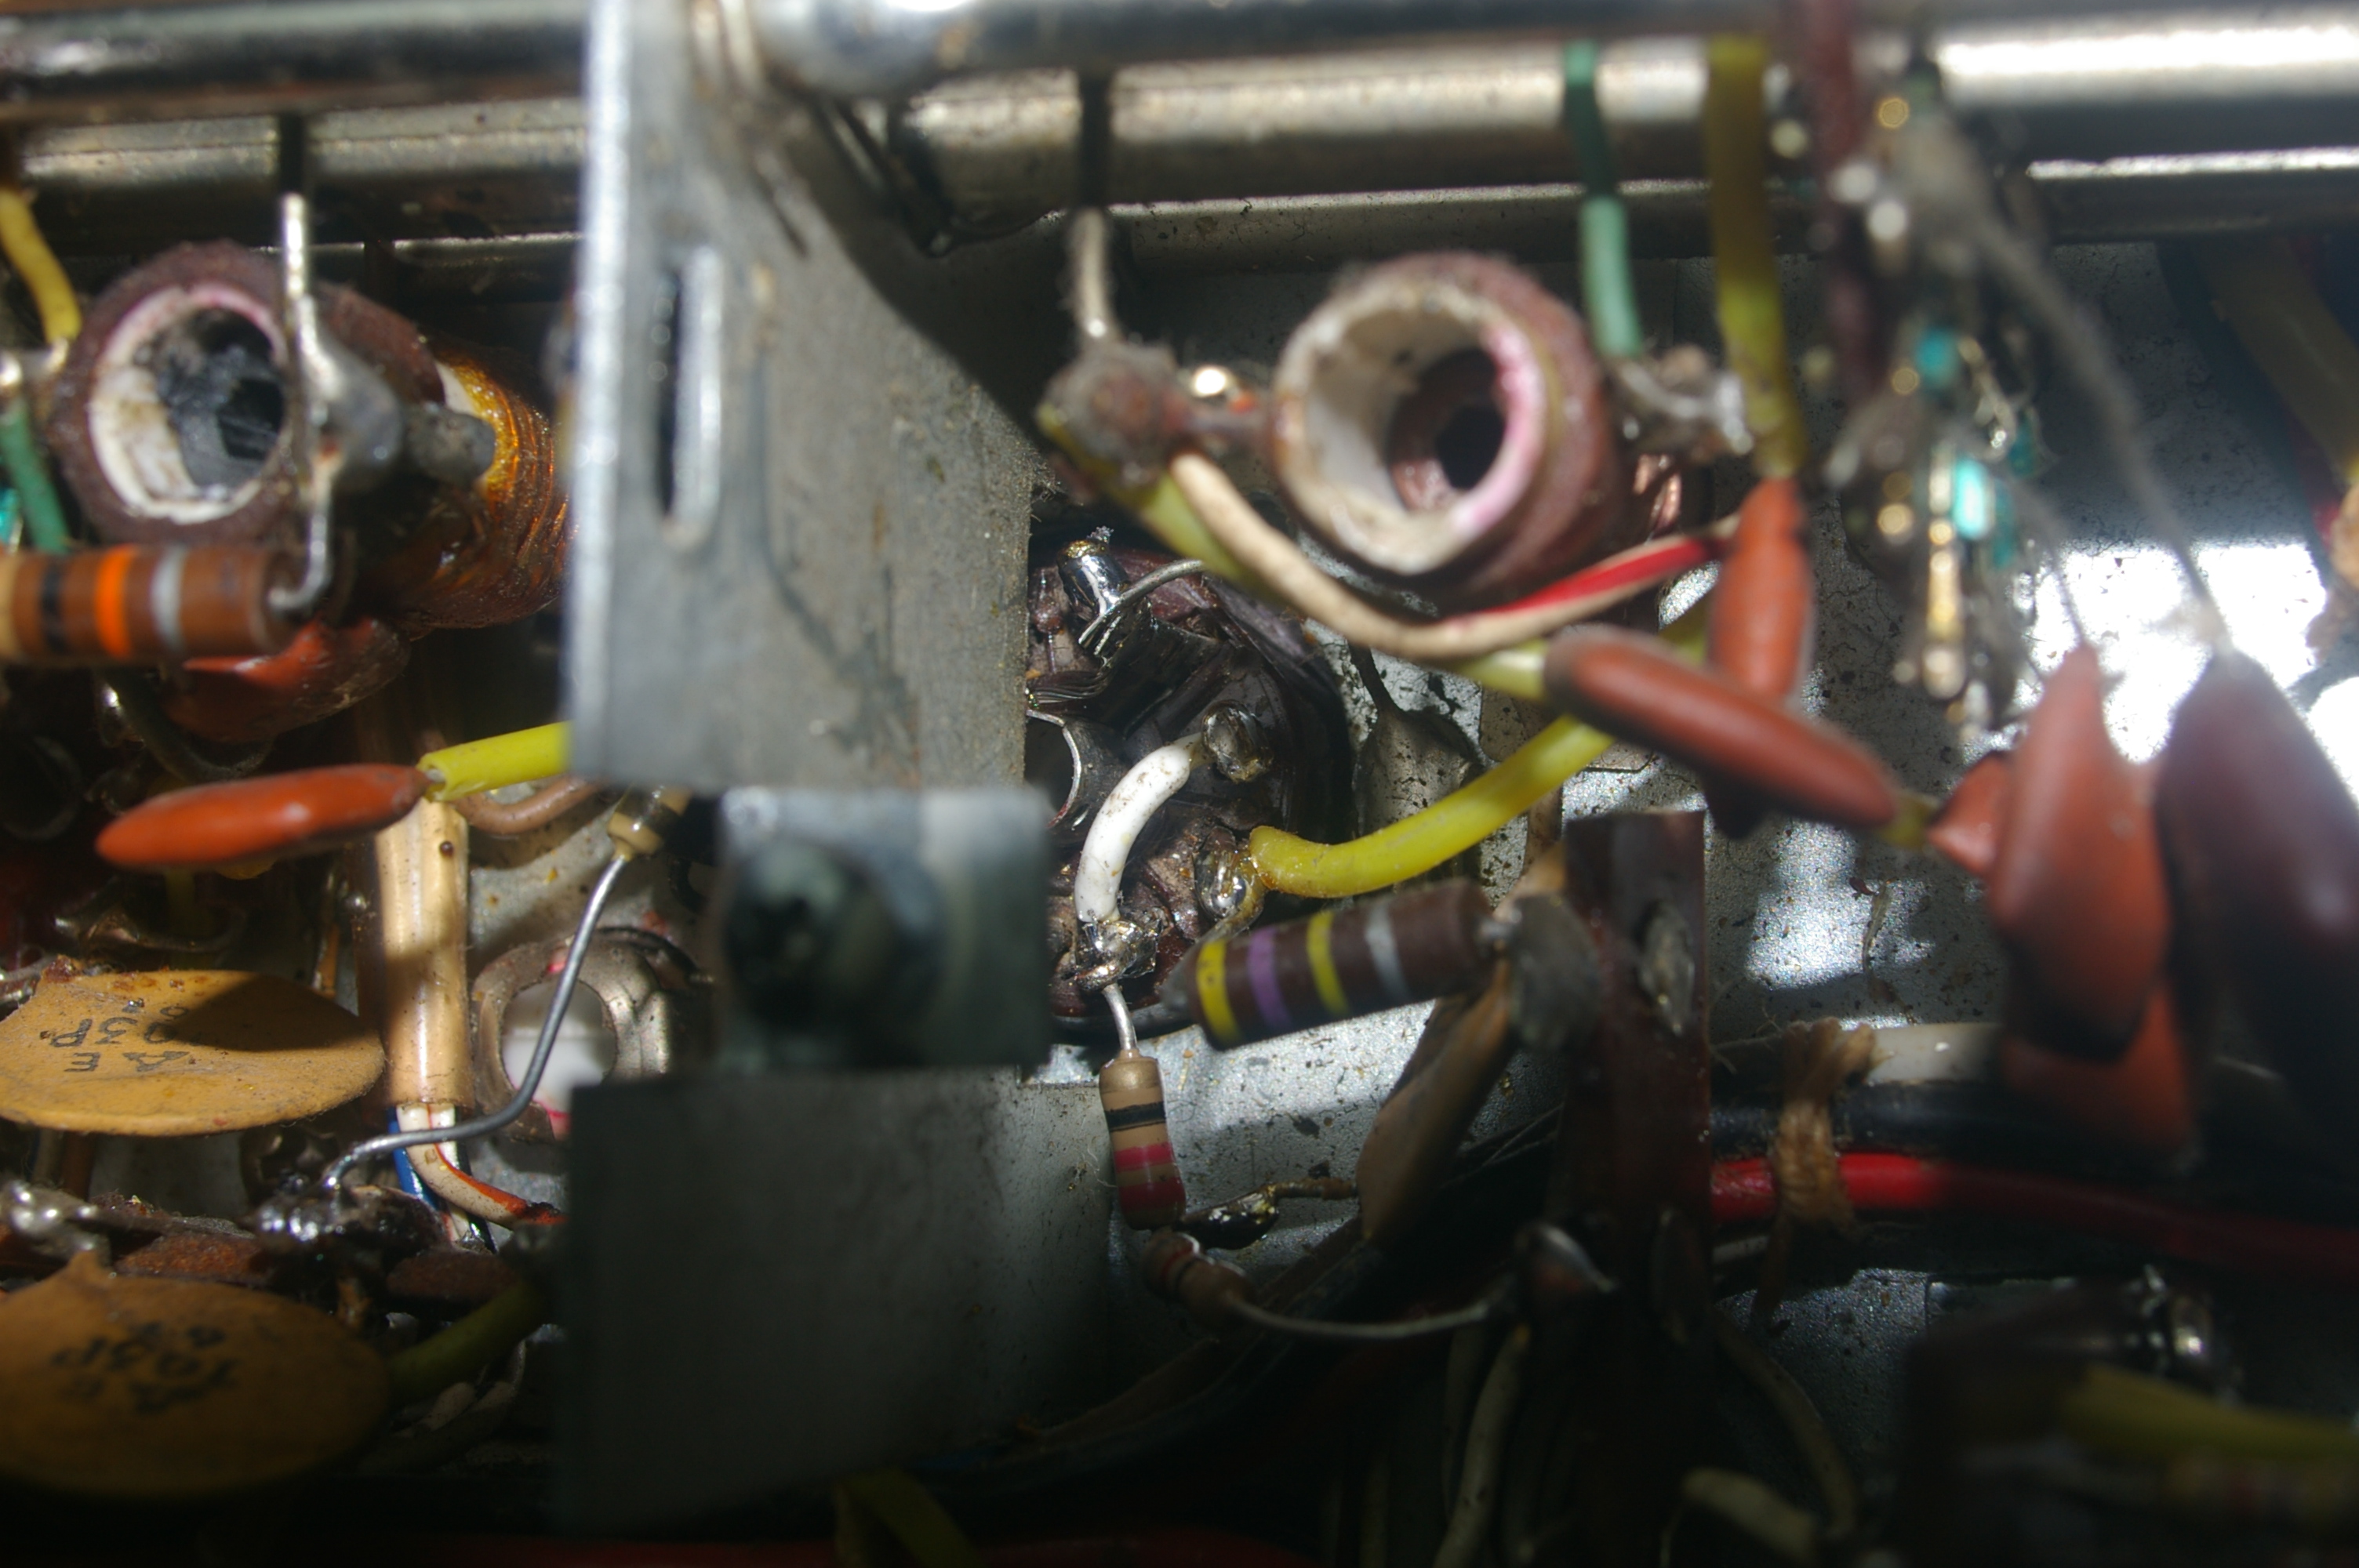
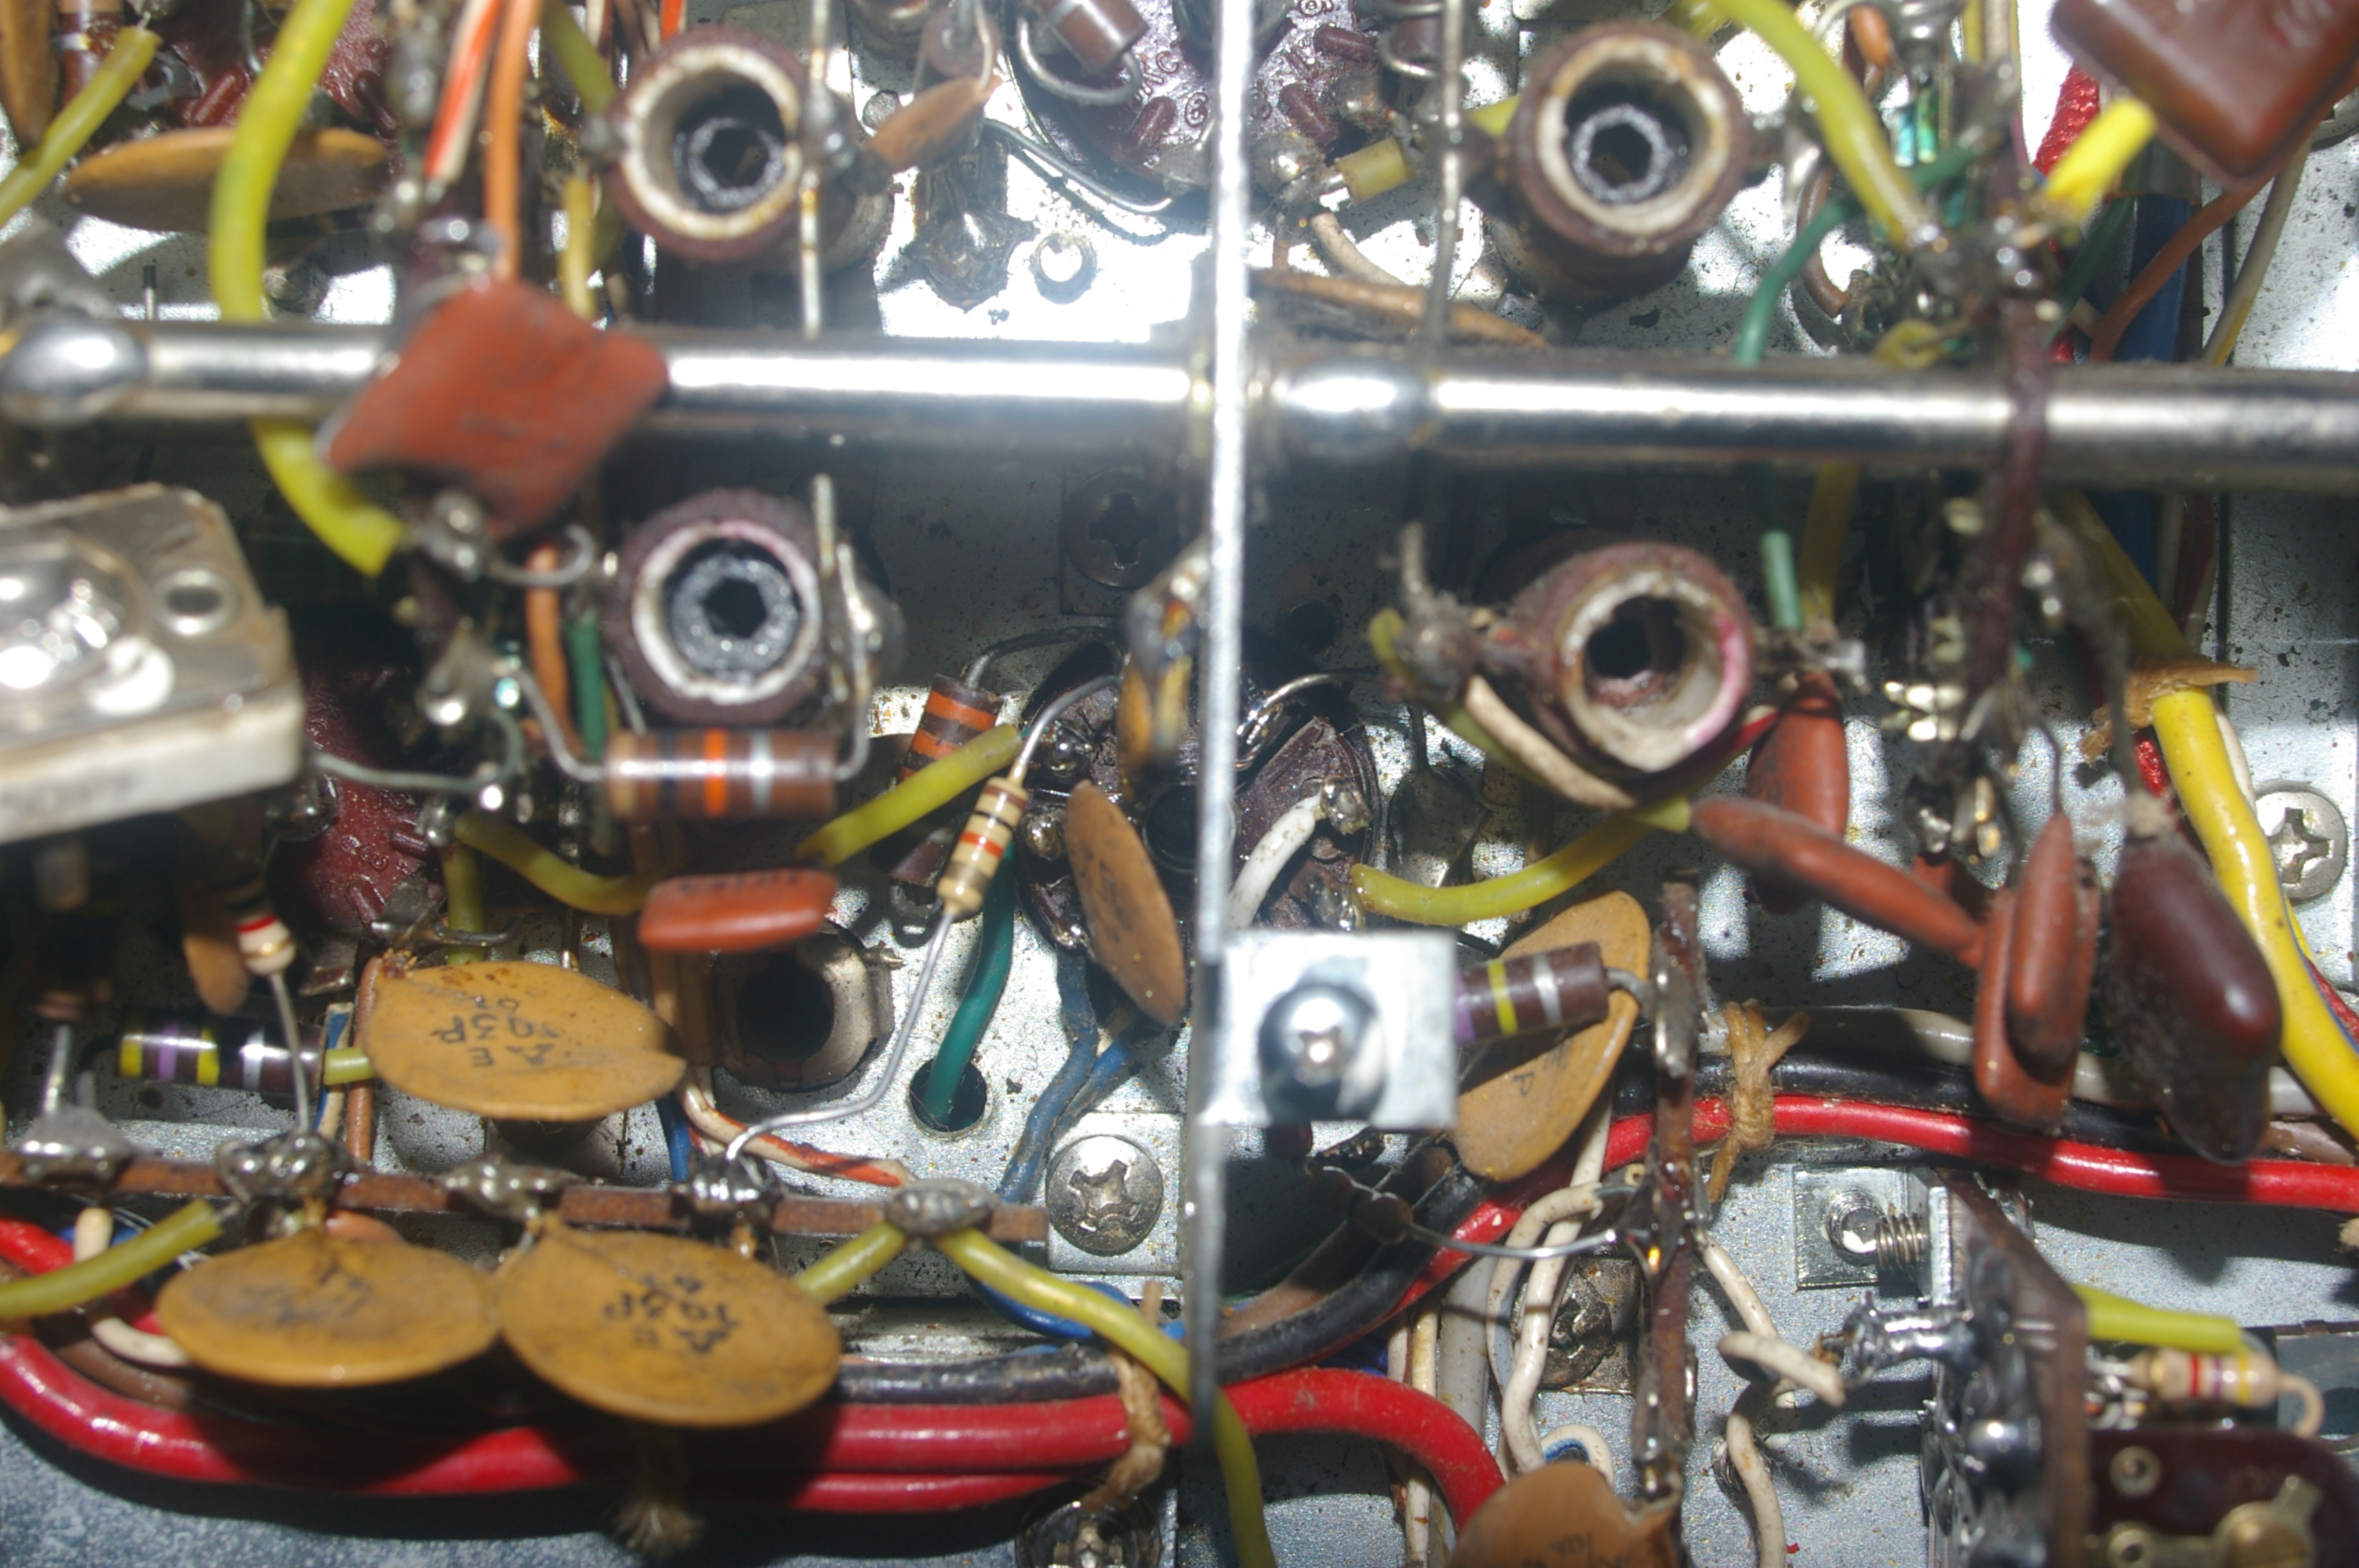
Three shots of the new wiring. Note the 10K resistor for the screen supply. In the mod notes it says to raise the screen voltage from 60 -> 90v (at 0 signal) by parallelling the original 15K resistor to raise the voltage. If you take measurements and calculate a new value, it's better than a parallel combination. My radio calculated out to 9.7K, so I fitted a 10K .5w 5% replacement and the no-signal voltage is now 89.9v....
Close enough!
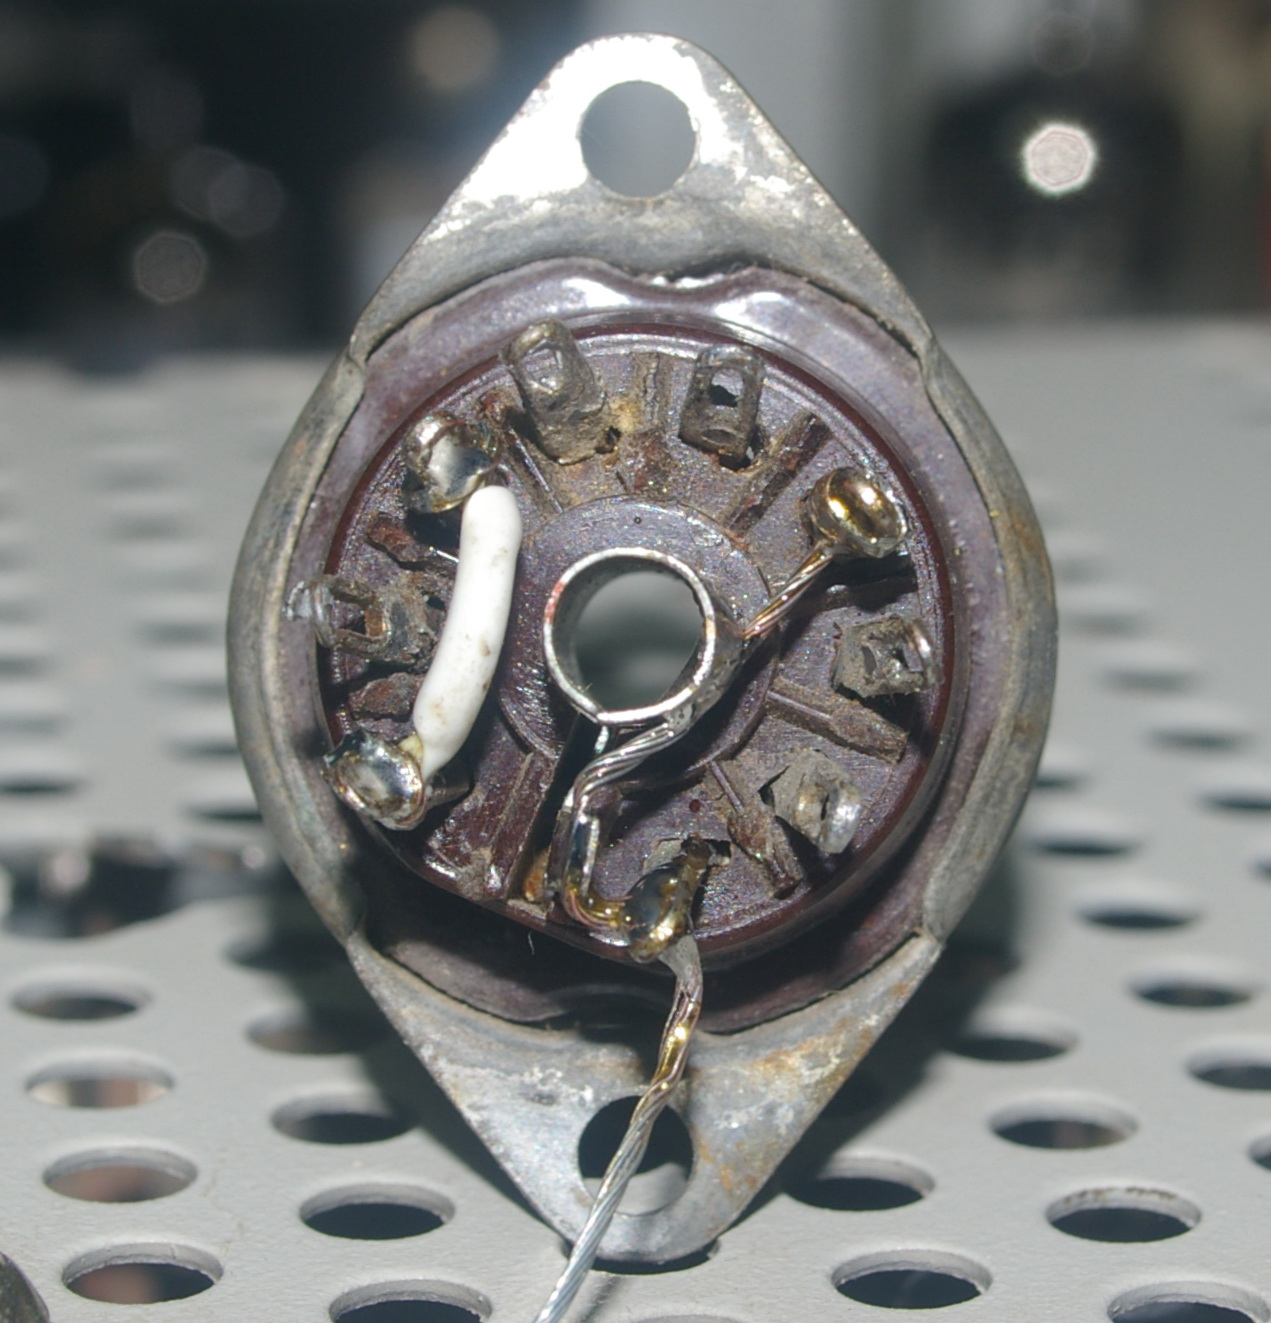
Left - The new socket ready to be installed.
Right - The old 100R cathode resistor is removed and replaced by a 22R/82R combination, with the bypass cap connected on the junction.
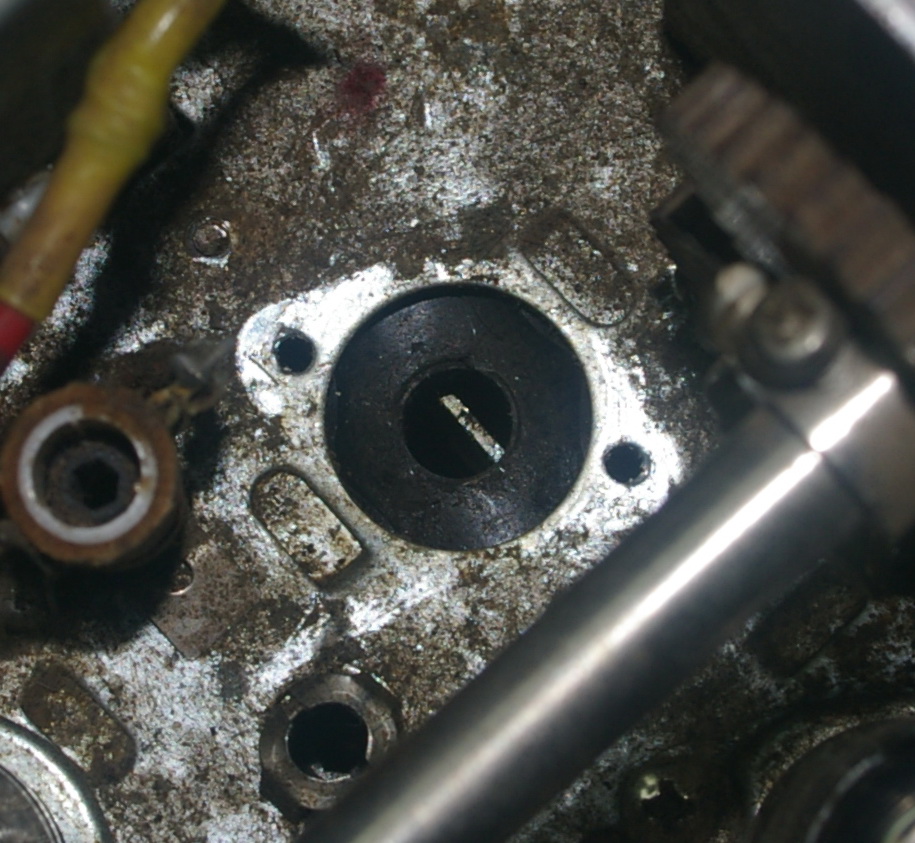
Left - All this effort for this small punchout.. but.. it's easier than a Dremmel... or a file... or........
Right - The new enlarged socket hole. TaDa!!
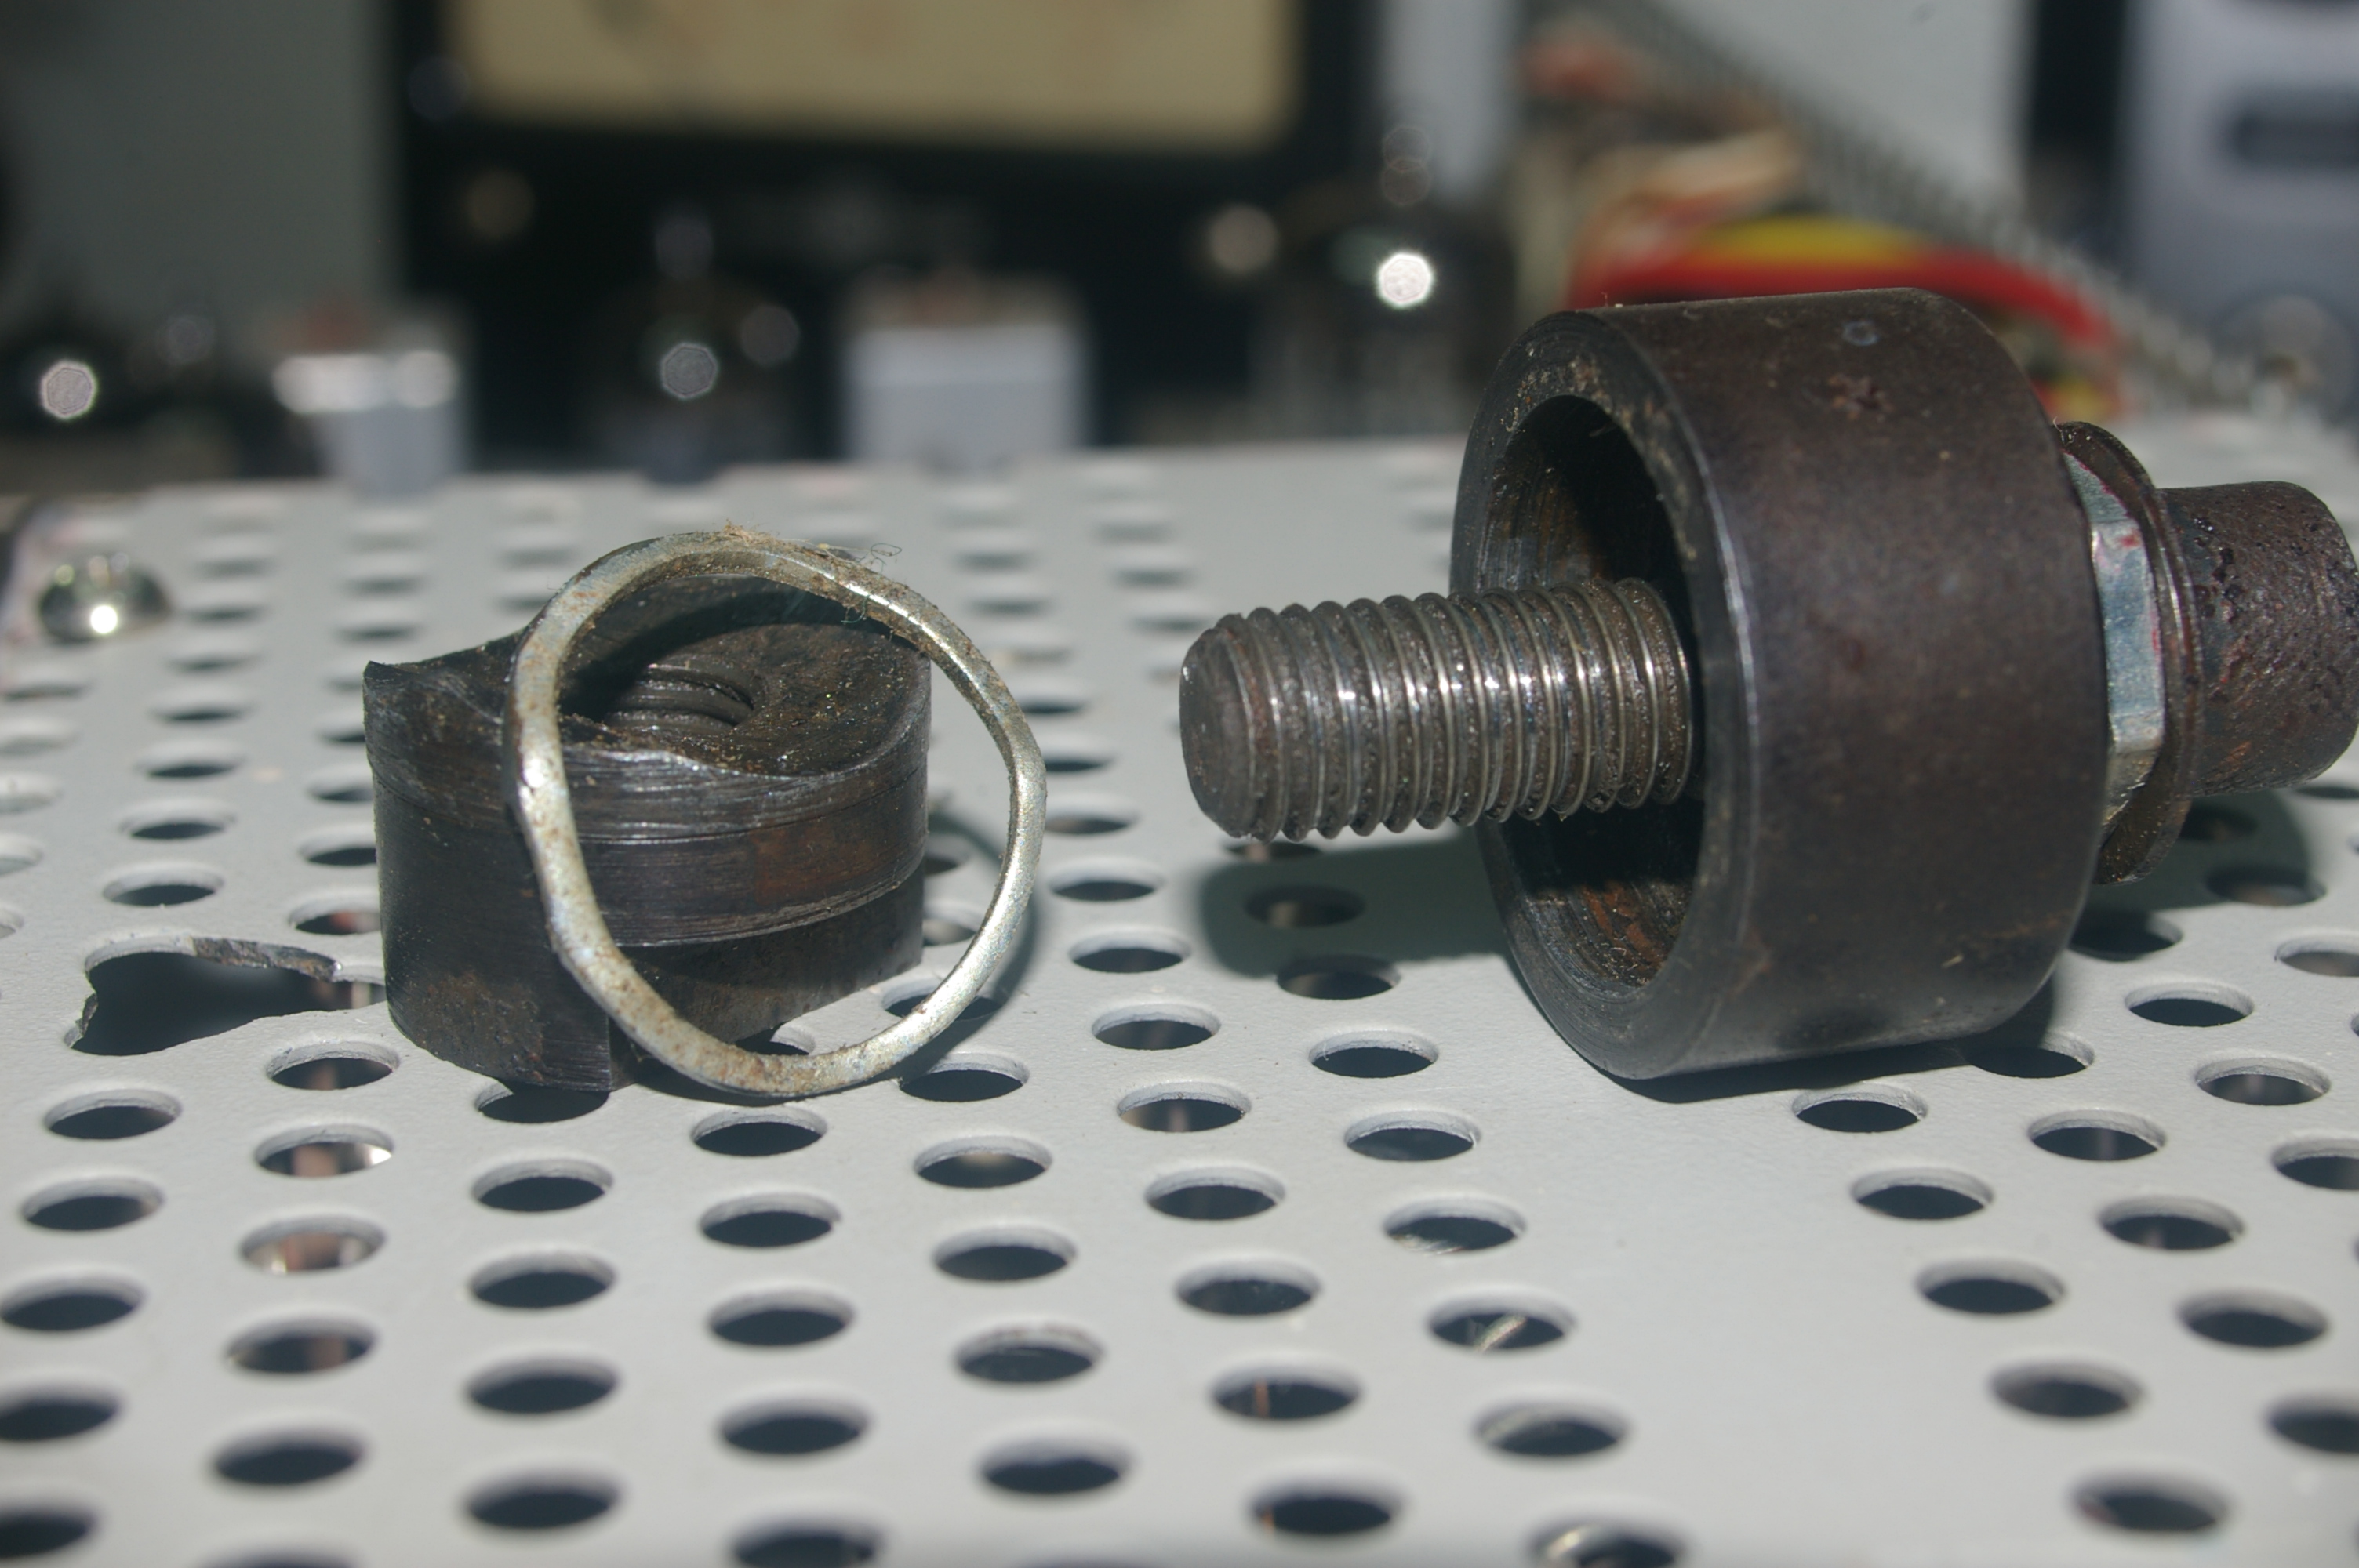
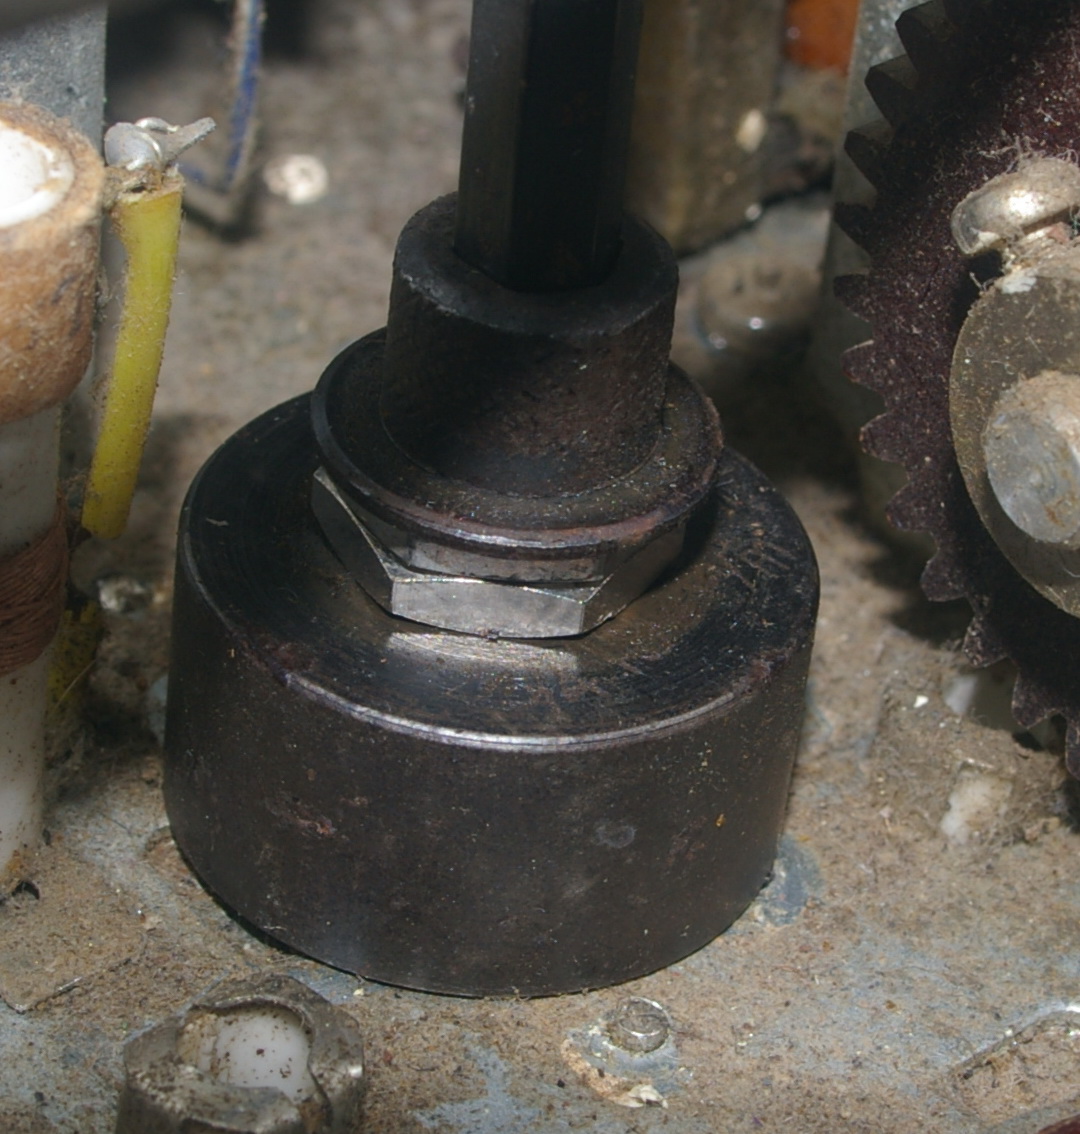
Punch being tightned down and punching out the hole. Note the couple of extra nuts to space out the bolt so it doesn't hit the shield plate under the chassis.
Right - After a few cranks of the allen key, it's through.
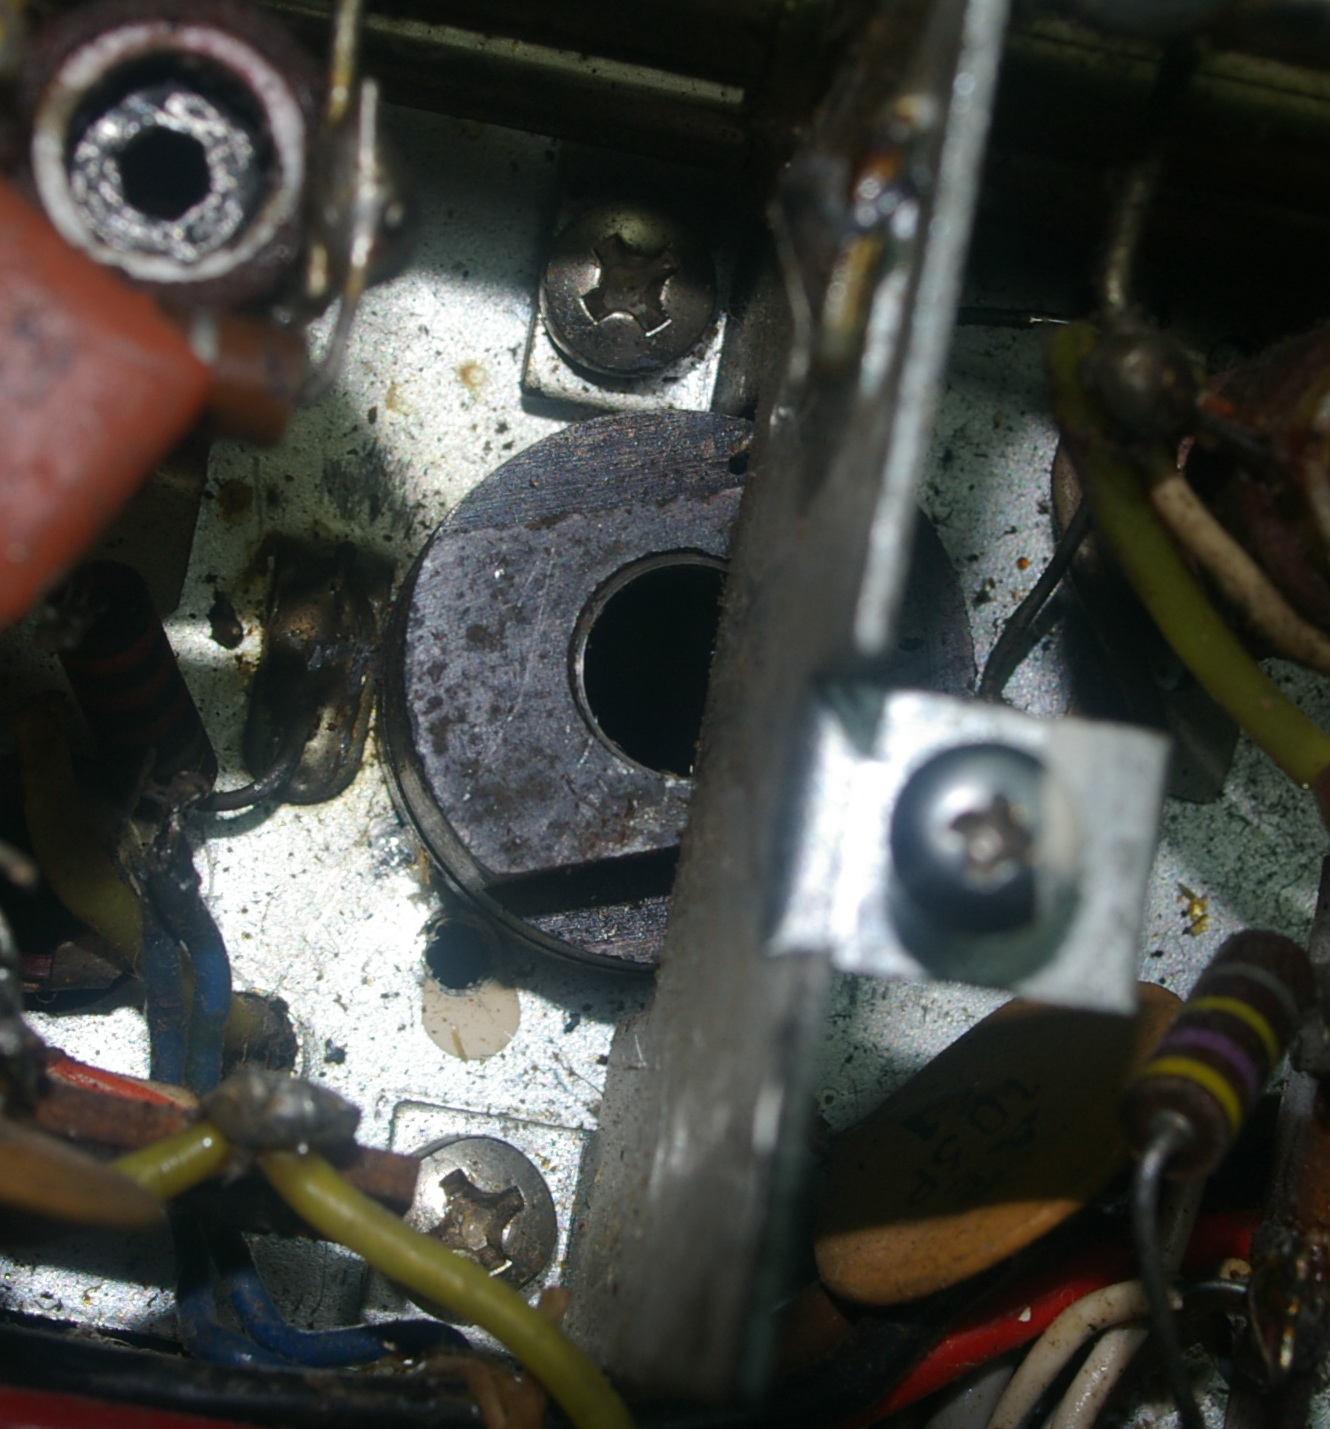
Q-Max chassis punch anvil located below the chassis.
Above & below Chassis Views.
Note that the 2 screws that hold the shielding plate need to be loosened to fit the anvil under it, also the trimmer has been removed to get better access.

FT-200 Gets a new RF Amp Tube
